How to Convert Woodburner to Bioethanol Fireplace: Step-by-Step Guide
Looking to give your fireplace a glow-up?
Maybe you're tired of the soot, the smoke, the sweeping... or just want something more eco-friendly and low-maintenance. The good news? Converting a woodburning stove into a bioethanol fireplace is easier than you might think and you don’t even need to call in a pro.
This step-by-step guide will walk you through the entire process, with clear tips to help you redesign your fireplace and enjoy real flame with none of the faff.
Let’s get started.
If you’re not sure that a bioethanol fireplace is the right choice for your home, here's our article examining the pros and cons of a biofire against a traditional woodburner.
Step 1: Block Your Chimney

Here’s your first big shift: bioethanol fireplaces don’t need a chimney. In fact, blocking it helps keep the heat in the room instead of letting it drift skyward.
You’ve got options here:
-
Permanent block: A professional can install a made-to-measure damper if you know you’ll never go back to logs.
- Temporary block: Try a chimney balloon, draught guard, or even a snug piece of plywood. These are ideal if you want to keep future options open.
Important: While you don’t need a chimney, you do still need ventilation. If your home is well-sealed, just crack a window slightly between refuels. (For reference: 1L of bioethanol gives around 4 hours of burn time.)
Step 2: Remove the Front Glass (Optional but Helpful)

If your stove or fireplace has a front glass panel, now’s the time to remove it, especially if you want to maximise heat output and allow better airflow for your new bioethanol fire.
Worried about safety? Many bioethanol fireplace inserts come with their own safety glass. Plus, biofires don’t spit embers like woodburners do. Still, it’s a real flame, so:
- Keep kids and pets at a safe distance
- Watch for drafts that could affect the flame
- Always treat it with the same respect as any open fire
Want something family-friendly? Explore our fireplace inserts with safety glass included.
Step 3: Clean Out the Fireplace

It’s cleaning day and this step makes a big difference.
Soot and ash from old woodburners can cling to your firebox, especially after blocking the chimney. Here’s how to get things fresh and ready:
- Remove leftover logs and loose debris
- Use a stiff brush and vacuum to clear ash and dust
- Mix soapy water and scrub down the interior
- For stubborn stains, mix washing-up liquid and baking soda into a paste, leave for 5 mins, then scrub
- Dry thoroughly
Pro tip: Wear old clothes. This part gets messy fast!
Step 4: Measure Up Your Fireplace
Now that it’s clean, grab your tape measure. You’ll need the exact internal dimensions to choose the right bioethanol fireplace insert or burner.
- Measure width, height, and depth
- Don’t forget to check if the grate or ashpan needs removing for a better fit
Not sure which insert will work best? Browse our sizing guide or get in touch, we’re happy to help.
Step 5: Choose Your Bioethanol Fireplace Insert

Here comes the fun part: picking your new fire.
Bioethanol fireplace inserts come in a variety of styles, colours and finishes, so whether you’re leaning towards rustic log-burner charm or minimalist modern chic, there’s something for you.
You can also add:
- Ceramic pebbles for a zen-like vibe
- Artificial logs for a traditional fireside look
- Scented bioethanol fuel to add fragrance to the flame (hello, vanilla!)
Ready to shop? Explore our full range of fireplace accessories.
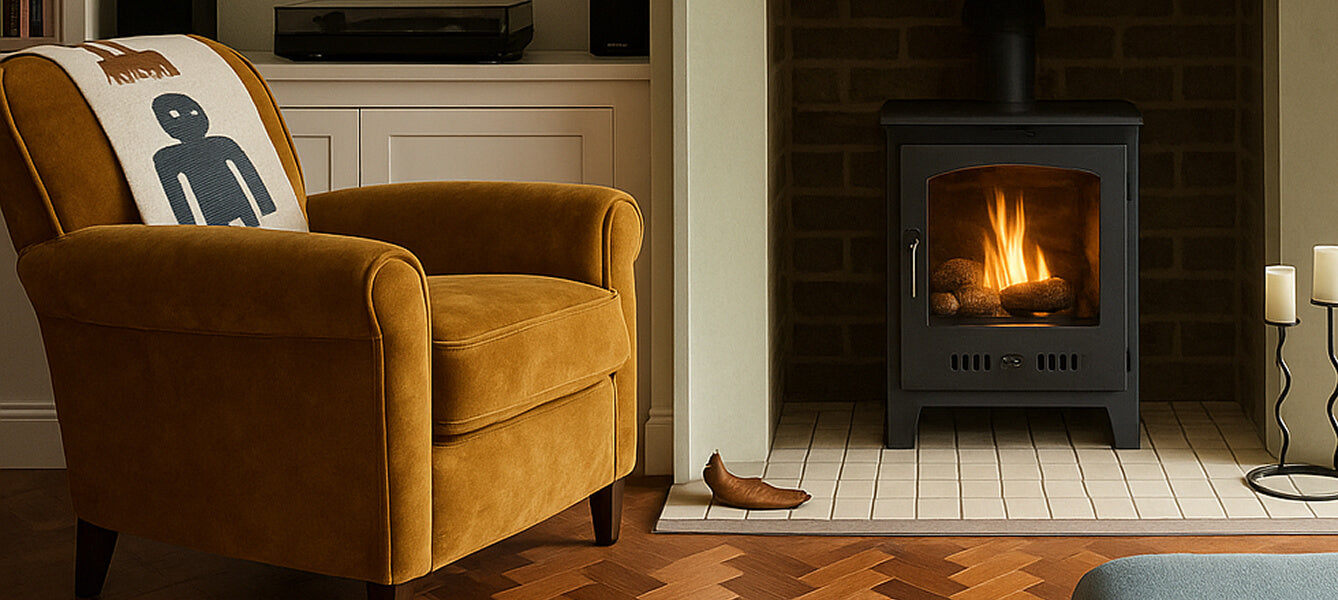
Step 6: Install Your Bioethanol Fireplace
No electrician, no plumber, no chimney sweep required.
Installation is as easy as it gets:
- Unbox your insert
- Slide it into place in your cleaned-out fireplace recess
- Add accessories if using
- Fill the burner with bioethanol fuel
- Light it up and enjoy
You can even move many freestanding inserts to other rooms, or take them outdoors for summer evenings. It’s that flexible.
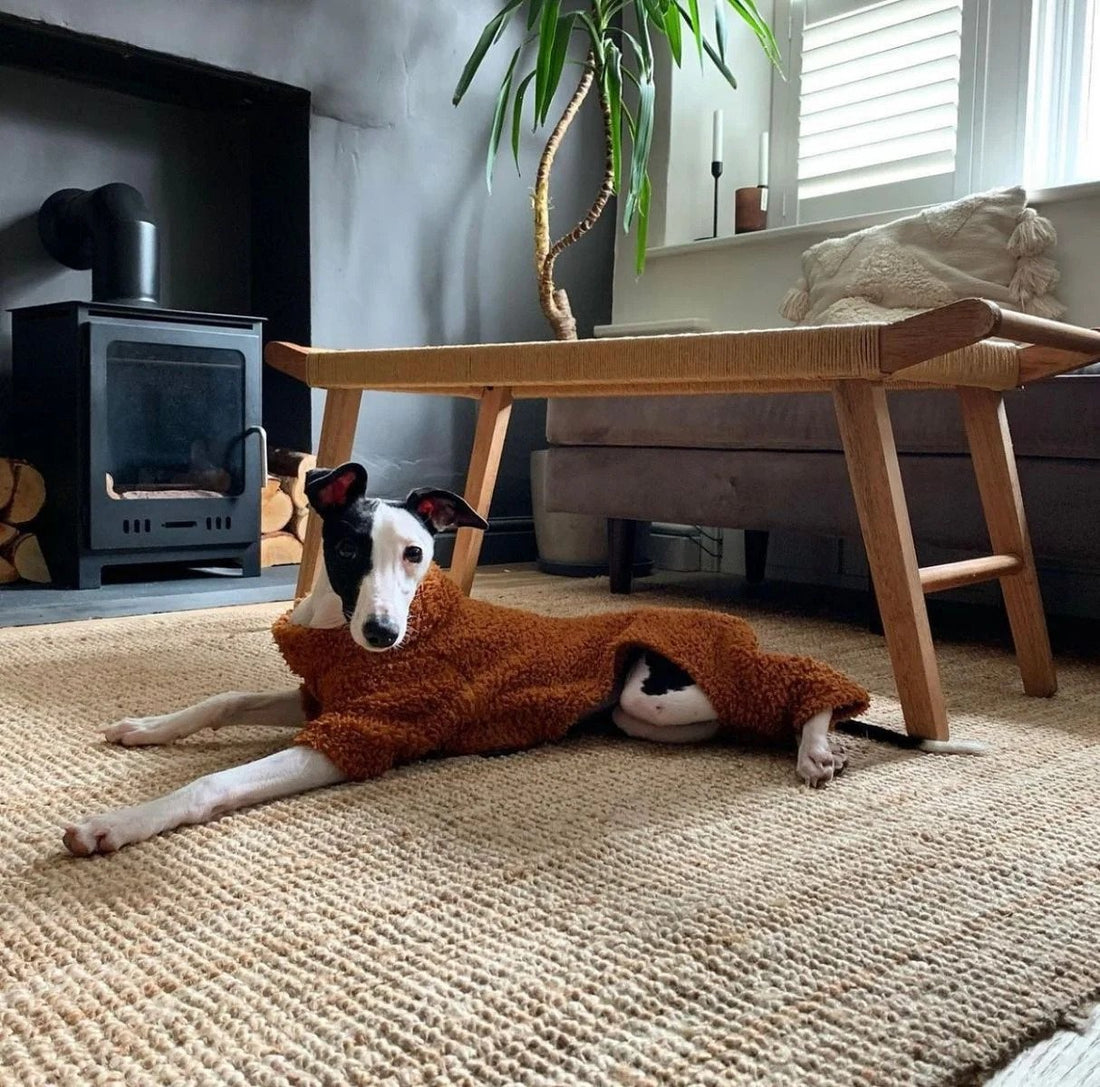
Want to see how it looks? Check out our customer gallery for real home inspiration.
Top tips for an efficient ethanol fireplace conversion
To make the most of your new setup, keep these tips in mind:
- Keep fuel box openings clear: Don’t place logs or pebbles directly over the burner
- Hearth optional: You don’t need one for heat protection, but it can create a cosy, traditional feel
- Scented fuel = bonus comfort: Choose from vanilla, forest, or seasonal scents like Christmas spice
- Low odour options available: Prefer a neutral room scent? Our low-odour bioethanol is a popular pick
- Refuelling safety: Always wait for the burner to cool before refilling with bioethanol fuel to avoid flare-ups.
- Burn time efficiency: If you don’t need full heat output, partially fill the burner, you’ll get the same ambience with less fuel use.
Curious about fuel types? Read our guide to fireplace fuel options.

That’s It! Your Cosy, Clean-Burning Fireplace Awaits
Who knew swapping out your old woodburner could be this simple?
With just a few steps, you’ve turned your smoky, soot-covered setup into a stylish, low-maintenance, eco-friendly bioethanol fireplace and you did it all without a single tradesperson.
Enjoy the glow, the warmth, and the knowledge that your new flame is as clean and green as it is beautiful.
Need help choosing your insert or fuel? Our team’s always happy to help.